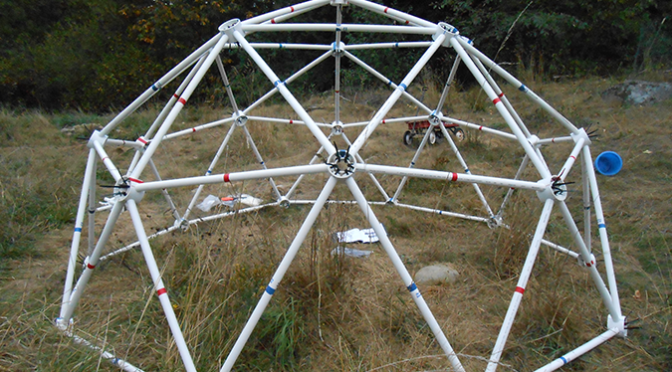
Our current chicken coop is an old shed that has fallen to disrepair over the years. It was old when we moved in, and we fixed it up enough to house the chickens, but it really wasn’t the best solution.
One of our goals for this year was to get the chickens into new housing. For quite a while we looked at coop houses made out of livestock panels, and those had several features that we liked.
- They can be moved. That’s important, even though we generally let the chickens roam most of the time, it would be nice not to have the coop always in one place. A light-weight coop that can be moved is a plus.
- Inexpensive. The panel coops are relatively inexpensive to build, which is always nice feature, and one of the biggest issues with homesteading as the initial setup costs.
- Roomy. We wanted a coop that could house more chickens, and something that we could stand up in.
- Sanitary. We also wanted it to be easier to clean. Being able to move the coop helps with that, but wood also rots over time. THe panel coops typically use wood, but not much and it can be replaced.
The problem we ran into with the livestock panel approach was actually the livestock panels themselves. At 16 feet long and 50 inches wide, they don’t really fit in the VW beetle. Even my dad’s pickup truck, with an extended bed, isn’t big enough to haul livestock panels that will stick out at least 6 feet or more from the back of the truck. I had asked at the feed store how people transported panels, and they said with a long trailer, which makes perfect sense. We don’t have access right now to a truck and a long trailer. And it’d be a little overkill for a couple panels for one small coop anyway.
Geodesic Designs
When the hoop house idea didn’t pan out, I started thinking about other sorts of materials. What about a hoop house made out of some sort of PVC pipe? I’d seen greenhouses done that way. Although most of the green houses weren’t designed to be portable in the sense that you could drag it to a new location. It might be portable since you can take them down on and rebuild them somewhere else, but that wasn’t really what I was looking for. Then I started thinking about geodesic structures, which have always fascinated me, but how would I do the hubs on the geodesic structure?
It raised the obvious question: had anyone else already solved all of those problems and built a geodesic chicken coop? A quick search online turned up the folks at Zip Tie Domes. Created by the Hurt family, Zip Tie Domes produces a variety of domes for livestock housing, including chickens, and designed to be used as greenhouses.
This looked like the exact sort of thing I had been thinking about. Lightweight, easy to move, and still somewhat within the price range that I had in mind for the project. After talking it over we decided to go ahead and order their small 10 foot dome chicken coop kit.
Assembly part one
The dome kit (poultry edition), came in two large boxes weighing 51 pounds and 41 pounds. Inside were the materials to construct the dome itself. That’s all the PVC struts, the patented hubs, handles, door struts, and of course, zip ties. They also provided a copy of the manuals that are also available on the website.
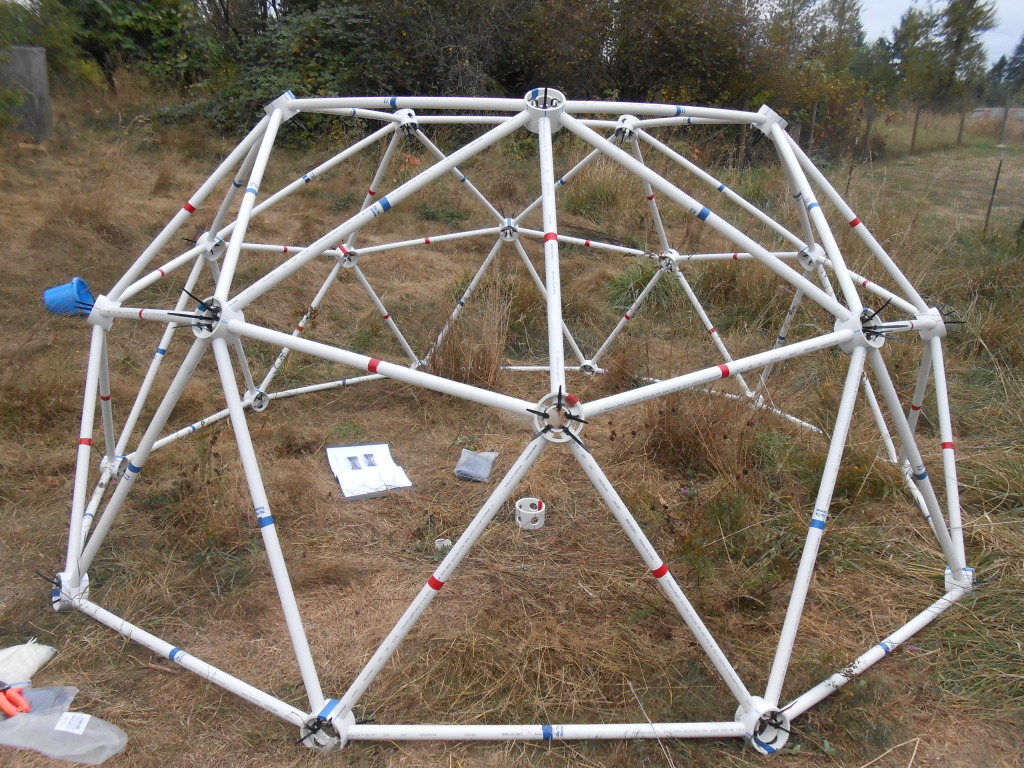
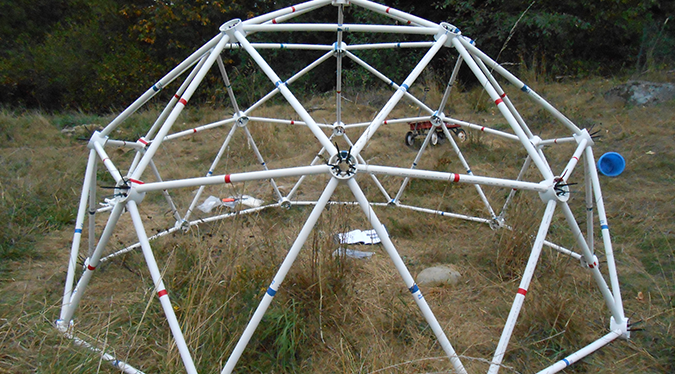
After unpacking boxes and removing the wire that bound all the struts together in a role, I started to work on building the dome. The process of building the dome is pretty simple. It really doesn’t require much in the way of building skill. Anyone who can follow simple directions shouldn’t have any problem. The basic construction method used is to insert the PVC struts into the hub and attach it to the center ring with zip ties. That gets repeated over and over again.
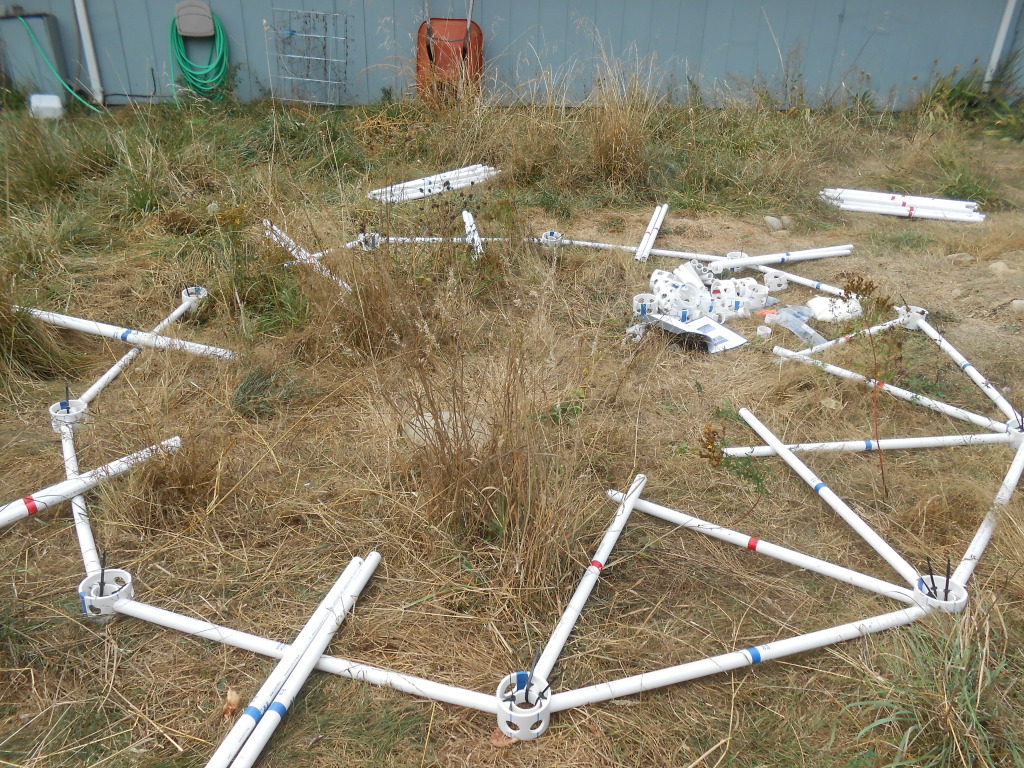
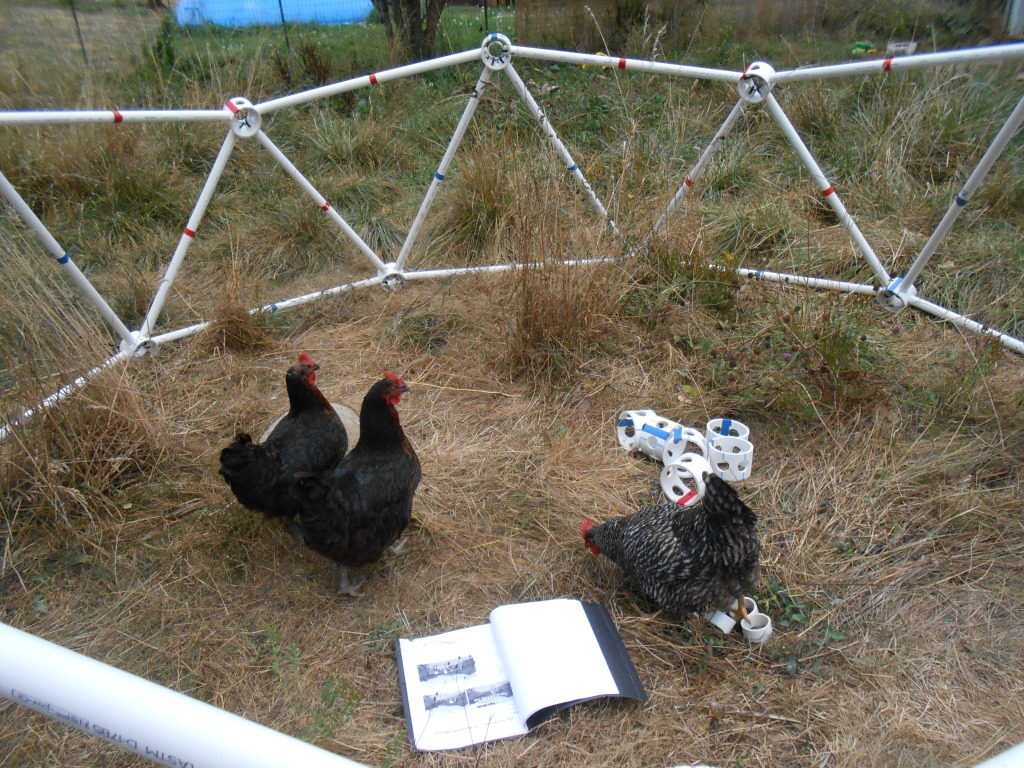
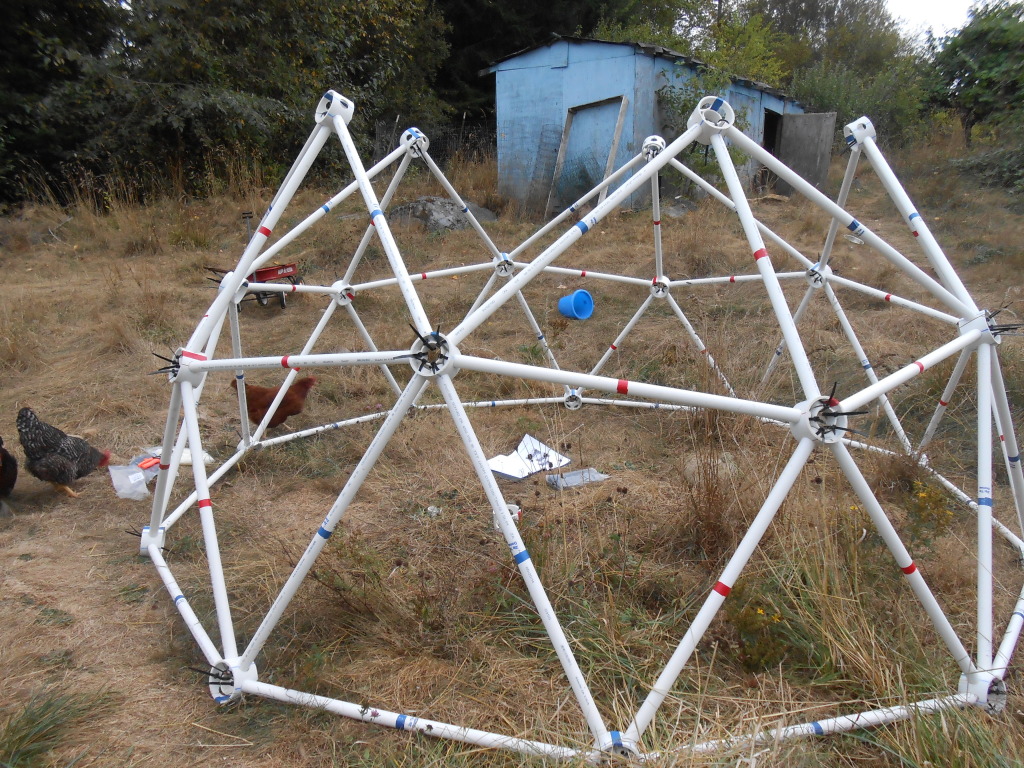
Next steps
It took maybe about two hours to put the dome together. About the time that they had estimated on their website. With a larger dome I would’ve needed a ladder to reach the upper levels, but in the 10 foot dome the top is easily within reach. High enough to stand up at the center. The dome kit comes with two struts to form a diamond-shaped door on one side (by removing one strut from the top of the first tier). With the dome complete the next step will be finishing it off.
After building the dome it will get covered with chicken wire, a large tarp, and I will add the door. The kit also comes with a number of PVC handles to attach to the framework, to make it easier to move the coop. It also needs to be anchored against wind which could potentially blow the coop over. The folks at Zip Tie Domes use bungee cords and cinder blocks that anchor the dome. I picked up a swingset anchor kit, which has four screw into the ground anchors that attach to a chain which is bolted to a metal band that can be fastened around the struts. The ground anchors may provide a more secure mounting, but might not be as easy to move as the concrete blocks. Depending on how much we move it, we may find that the anchors don’t exactly work as we want. We’ll see. Along with the new digs and I picked up a couple I high-sided litter boxes to use as nest boxes, and a new water bucket with nipples to provide clean water. It’ll be suspended from the dome structure, as will their food and roosts.
I’ll post again when we get the next phase of the project done and get the chickens moved into their new home.
